Semi-Automatic Paintbrush

The Mona Lisa

I bought an InkShield from the Kickstarter a few months ago mostly out of a desire to support an interesting Open Hardware project.  It wasn’t until yesterday that I thought of something useful to do with it.  Instead of that, I made this project, called the Semi-Automatic Paintbrush.  Using an infrared camera, an InkShield, an ink cartridge with an infrared LED stuck to it, and your arm, you can copy great works of art, or just any old picture.

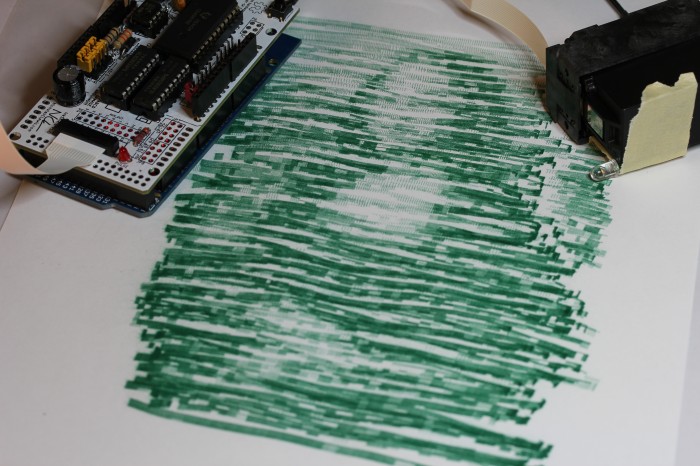
The desktop side software involved is called paintbrush.py.  It conveniently uses the homography module I wrote a year ago to map what the IR camera sees to the coordinate system of the canvas.  The mapping is calibrated interactively by placing the cartridge/LED at each of the four corners of the canvas and pressing a key when prompted.  After that, the motion of the LED is tracked, the corresponding region of the image is found, and the script sends serial commands to an Arduino with the InkShield telling it which nozzles to fire at what duty cycle to achieve the correct level of gray, or in this case, green.  The painted regions are tracked to prevent flooding.

As you can see from the image above, the results are not going to end up in the Louvre, but they do have a kind of partially mechanical, partially organic flavor to them.  If you have an InkShield, an IR LED, and a pygame supported IR camera (I use a modified PS3 Eye), and you’re interested in making your own lazy artwork, the script is available on github under an ISC License.  The Arduino sketch requires the InkShield library and is LGPL.  Usage instructions for the script are contained with it.

5 Comments on Semi-Automatic Paintbrush

FaceCube: Copy Real Life with a Kinect and 3D Printer

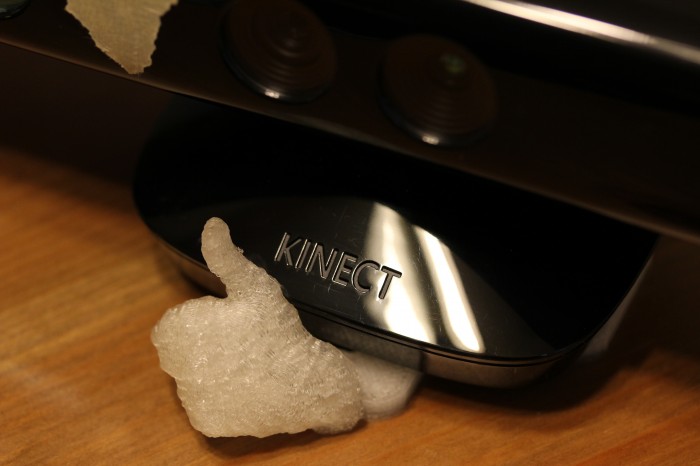
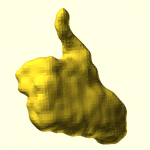
Thumbs Up

This project is a tangent off of something cool I’ve been hacking on in small pieces over the last few months.  I probably would not have gone down this tangent had it not been for the recent publication of Fabricate Yourself.  Nothing irks inspires me more than when someone does something cool and then releases only a description and pictures of it.  Thus, I’ve written FaceCube, my own open source take on automatic creation of solid models of real life objects using the libfreenect python wrapper, pygame, NumPy, MeshLab, and OpenSCAD.

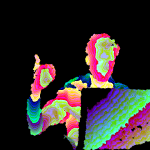
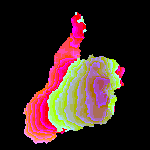
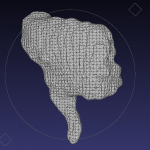
The process is currently multi-step, but I hope to have it down to one button press in the future.  First, run facecube.py, which brings up a psychedelic preview image showing the closest 10 cm of stuff to the Kinect.  Use the up and down arrow keys to adjust that distance threshold.  Pressing spacebar toggles pausing capture to make it easier to pick objects.  Click on an object in the preview to segment it out.  Everything else will disappear; clicking elsewhere will clear the choice.  You can still use the arrow keys while it is paused and segmented to adjust the depth of what you want to capture.  You can also use the H and G keys to adjust hole filling to smooth out noise and fill small holes in the object.  If the object is intended to have holes in it, press D to enable donut mode, which leaves the holes open.  Once you are satisfied, you can press P to take a screenshot or S to save the object as a PLY format point cloud.

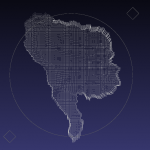
FaceCubeSegmentedPoint Cloud

You can then open the PLY file in MeshLab to turn it into a solid STL.  I followed a guide to figure out how to do that and created a filter script attached below.  To use it, click Filters -> Show current filter script, click Open Script, choose meshing.mlx, and click Apply Script.  You may have to click in the preview, but after a few seconds, it will say that it Successfully created a mesh.  You can click Render -> Render Mode -> Flat Lines to see what it looks like.  You can then click File -> Save As, and save it as an STL.  You can probably get better results if you manually pick the right filters for your object, but this script will be enough most of the time.

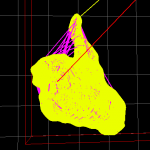
MeshLabOpenSCADRepsnapper

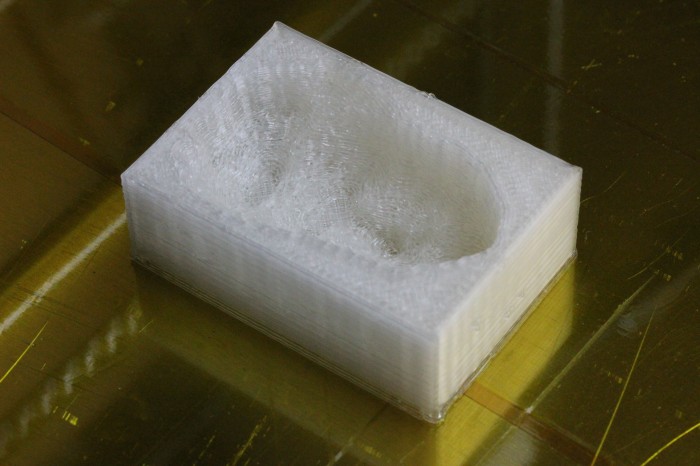
You can then open the STL in OpenSCAD or Blender and scale it and modify to your heart’s (or printer’s) content.  Of course, the real magic comes from when you take advantage of all that OpenSCAD has to offer.  Make a copy of yourself frozen in carbonite, put your face on a gear, or make paper weights shaped like your foot.  This is also where the name FaceCube comes from.  My original goal going into this, I think at my roommate’s suggestion, was to create ice cube trays in the shapes of people’s faces.  This can be done very easily in OpenSCAD, involving just subtracting the face object from a cube.

difference() {
	cube([33,47,17]);
	scale([0.15,0.15,0.15]) translate([85,140,120]) rotate([180,0,0]) import_stl("face.stl");
}

FaceCube Tray

Since all of the cool kids are apparently doing it, I’ve put this stuff into a GitHub repository.  Go ahead and check it out, err… git clone it out.  The facecube.py script requires the libfreenect from the unstable branch and any recent version of pygame, numpy, and scipy.  You’ll need any recent version of MeshLab or Blender after that to do the meshing.  I’ve been using this on Ubuntu 10.10, but it should work without much trouble on Windows or OS X.  The latest code will be on git, but if you are averse to it for whatever reason, I’ve attached the script and the meshlab filter script below.  Since Thingiverse is the place for this sort of thing, I’ve also posted it along with some sample objects as thing:6839.

Download:
git clone git@github.com:nrpatel/FaceCube.git

facecube.py
meshing.mlx

13 Comments on FaceCube: Copy Real Life with a Kinect and 3D Printer

Easy Interactive Camera-Projector Homography in Python

Camera and Projector

Math.  It turns out its not quite like riding a bike.  A year since college, and two since my last computer vision course, my knowledge of linear algebra is basically nil.  Several projects I’m stewing on are bottlenecked on this.  I decided to relearn some basics and create a tool I’ve wanted for a while, a method to quickly and easily calculate the homography between a camera and a projector.  That is, a transformation that allows you to map points from the camera plane to the display plane.  This opens up a world of possibilities, like virtual whiteboards and interactive displays.

I won’t go into detail about deriving the transformation matrix, as there is information elsewhere better than I could present.  The calculation requires four or more matching point pairs between the two planes.  Finding the points manually is a pain, so I wrote a script that uses Pygame and NumPy to do it interactively.  The script works as follows:

  1. Point an infrared camera at a projector screen, with both connected to the same computer.
  2. Run the script.
  3. Align an lit IR LED to the green X on the projector screen, and press any key.
  4. Repeat step 3 until you have four points (or more, depending on the script mode), at which point,
  5. The script will calculate the homography, print it out, and save it as a NumPy file.

The script in its current form uses any Pygame supported infrared camera.  This today is likely a modded PS3 Eye or other webcam, unless you’re lucky enough to have a Point Grey IR camera.  I do not, so I hot glued an IR filter from eBay to the front of my Eye, that I may have forgotten to return to CMU’s ECE Department when I graduated.  Floppy disk material and exposed film can also function as IR filters on the cheap,  just be sure to pop the visible light filter out of the camera first.

It would be overly optimistic of me to believe there are many people in the world with both the hardware and the desire to run this script.  Luckily, due to the magic of open source software and the modularity of Python, individual classes and methods from the file are potentially useful.  It should also relatively straightforward to modify to accept other types of input, like a regular webcam with color tracking or a Wii Remote.  I will add the latter myself if I can find a reasonable Python library to interface one with.

Once you have the transformation matrix, you can simply dot the matrix with the point from the camera to get the corresponding point on the projector.  The blackboard script, demonstrated by my roommate above and downloadable below shows a use case for this, a drawing app using an IR LED as a sort of spray can.  The meat of it, to convert a point from camera to projector coordinates, is basically:

# use homogeneous coordinates
p = numpy.array([point[0],point[1],1])
# convert the point from camera to display coordinates
p = numpy.dot(matrix,p)
# normalize it
point = (p[0]/p[2], p[1]/p[2])

The homography.py script takes the filename of the matrix file to output to as its only argument.  It also has an option, “-l”, that allows you to use four or more points randomly placed around the screen, rather than the four corner points.  This could come in handy if your camera doesn’t cover the entire field of view of the projector.  You can hit the right arrow key to skip points you can’t reach and escape to end and calculate.  The blackboard.py script takes the name of the file the homography script spits out as its only argument.  Both require Pygame 1.9 or newer, as it contains the camera module.  Both are also licensed for use under the ISC license, which is quite permissive.

nrp@Mediabox:~/Desktop$ python homography.py blah
First display point (0, 0)
Point from source (18, 143). Need more points? True
New display point (1920, 0)
Point from source (560, 137). Need more points? True
New display point (0, 1080)
Point from source (32, 446). Need more points? True
New display point (1920, 1080)
Point from source (559, 430). Need more points? False
Saving matrix to blah.npy
 array([[  3.37199729e+00,  -1.55801855e-01,  -3.84162860e+01],
       [  3.78207304e-02,   3.41647264e+00,  -4.89236361e+02],
       [ -6.36755677e-05,  -8.73581448e-05,   1.00000000e+00]])
nrp@Mediabox:~/Desktop$ python blackboard.py blah.npy

Download:
homography.py
blackboard.py

6 Comments on Easy Interactive Camera-Projector Homography in Python

Evil Eye: Microvision SHOWWX as a Face Tracking Eyeball

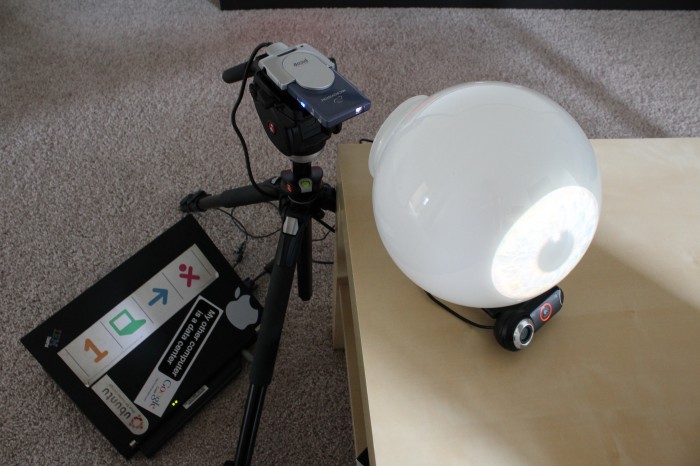
This idea, like most good ones, came to me while I was in my bathroom.  I recently took delivery of a Microvision SHOWWX laser pico projector, and I was trying to come up with a quick project to show the cool stuff it could do.  I noticed that the light above my mirror was diffused by a large frosted glass dome, which led to this strange project.  It’ll probably make more sense around Halloween.

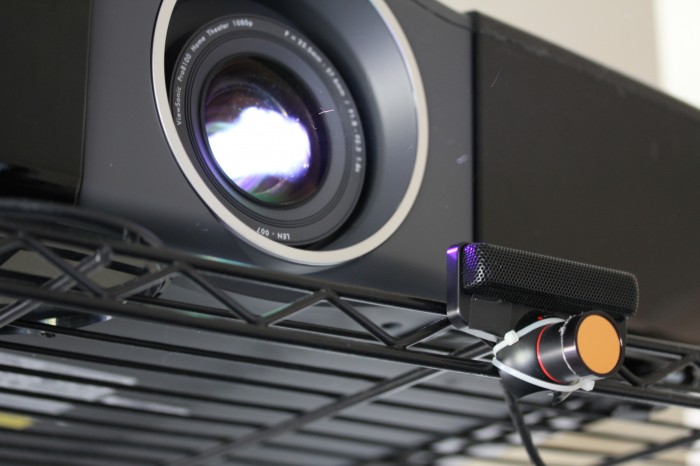
Microvision SHOWWX Setup

The software is pretty similar to what I wrote the last time I did face tracking:  OpenCV’s very convenient Haar feature detection along with Pygame to do the image display.  I tried taking a picture of my own eye, but Flickr user Sarah Cartwright’s is much more photogenic and available under Creative Commons Attribution-Share Alike.

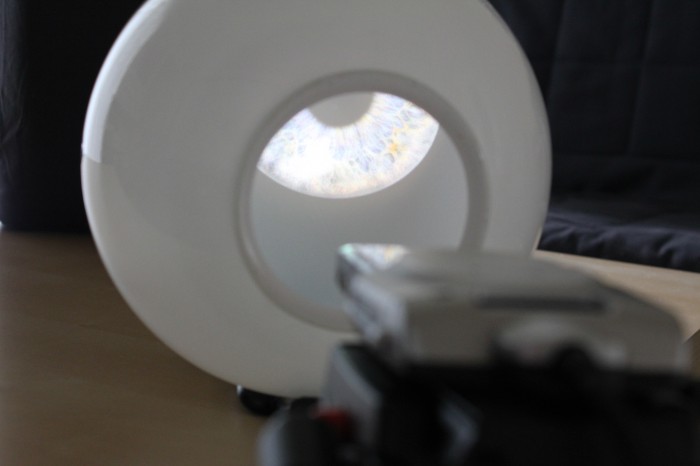
Inside the Eye

A regular pico projector would probably work as well, but the contrast ratio on this thing means it looks like the iris is being projected by itself.  I have some much cooler projects planned that will really take advantage of the focus free nature of the laser projector.  In the mean time, the code for this project is available below.  The image is CC A-SA, the code is public domain, and the Haar file is Intel License Agreement like the rest of OpenCV.  I also attached the Python script itself for perusal by search engines or folks who just want to see the code.

Download:
EvilEye.zip
EvilEye.py

5 Comments on Evil Eye: Microvision SHOWWX as a Face Tracking Eyeball

Reflection Rejection: A Pygame Camera Game

Reflection Rejection

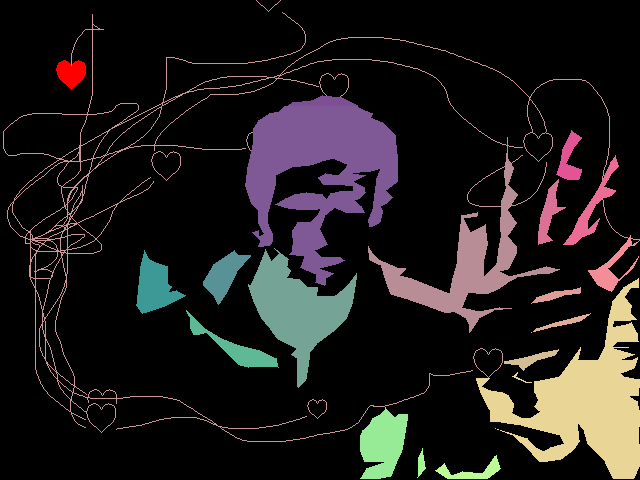
Here is another Game Creation Society competition entry I wrote in an evening. The theme was “reflection”, and I took it literally. The game generates a jagged and changing world based on what a webcam sees. This of course, means that it requires a webcam supported by the Pygame Camera module, which should be just about any USB webcam that works in Linux.

In the game, you must steer the heart across the treacherous world without colliding with anything. If you do, you start back at the beginning. If you succeed, the heart gets bigger and you start again. Note that in many cases, the worlds generated will actually be impossible, just like real life.

The game uses the latest Pygame out of SVN, so I compiled it and included it locally for those who don’t have it.

Download:
Reflection Rejection i386
Reflection Rejection amd64

4 Comments on Reflection Rejection: A Pygame Camera Game

RocketPong: Now a Zero Button Voice Activated Game

RocketPong

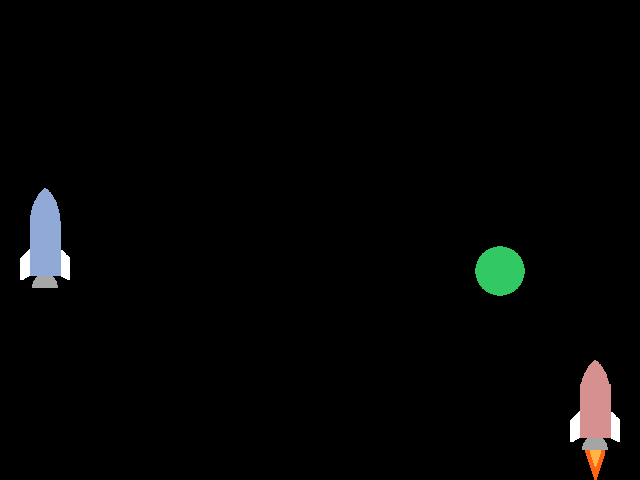
I wasn’t planning on touching this one button game again, but I have one last improvement:  removing the button.  RocketPong is now a zero button game in which the player’s rocket thrust can be activated by yelling into the microphone.  It feels… kind of right.  I tried making the thrust relative to the loudness, but it felt less smooth.

I did this mainly as a proof of concept for a bigger and better future game idea.  It is a game that will be controlled by voice input and hand gestures.  The player yells into the microphone to recharge his or her ammo and makes shooting noises (pew! pew!) to fire.  The player’s hand, closed into a gun shape, will control the crosshair on screen to target enemies.  The game will probably be quite frustrating to play, but hilarious to watch other people play.

This version of RocketPong uses some code from CShadowRun in an Ubuntu Forums thread.  It requires pygame 1.8 or newer and python-alsaaudio.

Download: rocketpong_voice.tar.gz

4 Comments on RocketPong: Now a Zero Button Voice Activated Game

v4l2 camera module now in Pygame SVN

My Google Summer of Code Project has finally grown up and flown out of my personal git repo to enter the Pygame SVN. All development will now occur there, though I will leave my git up for archival purposes.

The project is a module for Pygame to support v4l2 cameras. The impetus for this was to make the webcam on the OLPC XO usable without intimate knowledge of GStreamer, and to allow for some basic computer vision. The module does, however, support many camera pixelformats beyond those used on the XO, and is pretty flexible to adding new ones.

At the moment, there is no support for v4l cameras beyond detecting that they are attached to the computer, and there is no support at all for Windows or OS X. René Dudfield is starting work on Windows support using directshow. OS X support will come eventually.

The API documentation for the module is pretty thorough, but I haven’t uploaded any tutorials or example scripts yet. For now, you can look at some of the scripts I’ve posted on this blog.

No Comments on v4l2 camera module now in Pygame SVN

RocketPong – A One Button Game

RocketPong

I couldn’t sleep, so I decided to write a quick entry for the Game Creation Society‘s One Button Game Compo.

It requires Pygame 1.8, which can be installed through a package manager on many distros, or can be downloaded from Pygame.

The game is a pong clone with gravity. The one button activates thrust on your paddle, which happens to look like a rocket. In theory, there is pixel perfect collision detection, so the angle of the ball against the curve of the rocket should matter. The opponent rocket is controlled by some really really horrible AI. The game would be infinitely more fun with two players, but I wasn’t sure if the one button rule meant per player or total…

Update: I uploaded a better version of it with more accurate collision detection and better AI.  There is also a two player mode that is activated by hitting the right arrow key, which is the thrust key for the second player.  This is the final version for the game competition, and very likely the last time I will touch the code.

Download:
rocketpong.tar.gz
rocketpong.zip

No Comments on RocketPong – A One Button Game

Living Pointillism packaged as an OLPC Activity

I packaged the script I wrote a few posts back as a .xo file that can be installed on an OLPC XO. This isn’t really because the script itself is that great, but because I wanted to test a way to deliver the Pygame stuff I’m working on for GSoC for the months until my code is merged, Pygame 1.9 is released, and the package is included on XO’s. This also explains why a 2KB Python script is now a 750KB .xo that takes up over 2MB when installed.

So, while the Activity itself just runs the Living Pointillism script, the activity directory (/home/olpc/Activities/Pointillism.activity/ on my XO running release ~690) contains the whole Pygame library with my modifications to date. So, you can just drop scripts (like these or these) that use pygame into that directory and run them from there, and they will use the local pygame instead of the one installed on the XO. This saves you from having to install all the stuff necessary to compile pygame on an XO.

Download: Living Pointillism

1 Comment on Living Pointillism packaged as an OLPC Activity

Pixel Perfect Collision between Real and Virtual Objects in Pygame

bouncy ball

The Quick Version:
I wrote a few scripts to test the possibility of using pixel perfect collision detection in pygame to allow for interactions between real life and on screen objects.  They require the installation of my branch of pygame, which includes support for v4l2 cameras.  The download links for the scripts (including OLPC versions) and pygame source are at the bottom of the post.

The Verbose and Occasionally Tangential Version:

Joel Stanley of OLPC sent me a patch for my GSoC project a few days ago, along with a link to a picture of an exhibit at The Tech Museum of Innovation in San Jose, in which a person can manipulate virtual falling sand with his or her shadow.  That is exactly the kind of killer tech demo I’ve been looking for for my project.  The kind of thing that anyone could pick up in an instant and realize the beauty of human computer interaction.  Of course, the museum setup had a controlled environment, a projector, a screen, and probably a whole lot of processing power.  I have hundreds of thousands of kids around the world on 433mhz laptops.

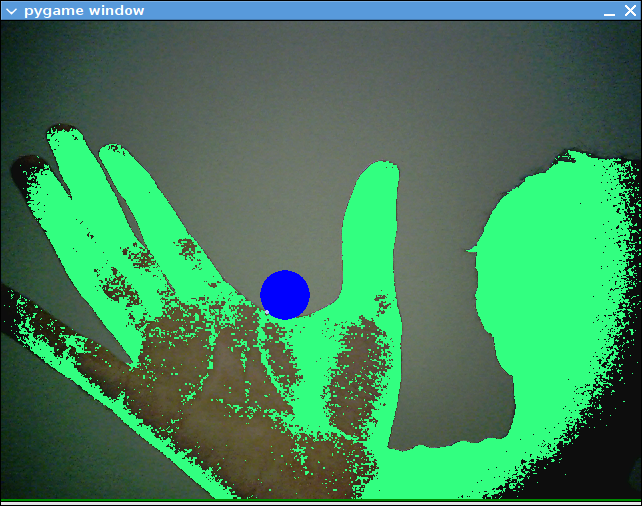
At first, in response to Joel’s email, I had just planned to describe how to get the equivalent of the shadow.  It obviously could not require a projector, a screen, a uniformly colored background (green screen), or even a consistant source of light to project a shadow.  Instead, this requires an initial calibration step.  When the scripts start, they wait for the user to hit a button.  The user should then get out of view of the camera, so it only sees the background.  It then waits a couple seconds and takes a picture of the background.  The shadow is then created by thresholding frames currently being captured against the original background image.  This actually works pretty well as long as the background isn’t moving.  So, play it with the camera facing a wall if possible.

I had planned to just leave it at that, but then I figured since I already have that written, might as well just add a few lines of code to see if I could do pixel collisions between the shadow and objects on screen.  Nothing complicated like sand, just a bubble on screen that the user pops.  When this worked, I decided to extend it by having it place a new bubble on a random spot of the screen whenever one is popped.  A few minutes later, my friend stopped by and asked what the hell I was doing jumping around in the middle of the room.  I told her about the vision stuff, and then we both started jumping around in the middle of the room, popping fake bubbles.  Who would have thought something that simple could be fun?  That script is Pop Bubbles; you can download it at the bottom of the post and jump around your own room.

I thought I might be finished there, but it was still a far cry from the sand demo that Joel saw.  I decided making the bubble move could be fun, so I added a fixed “velocity” of pixels that the bubble would move every frame if it wasn’t popped.  It would be pretty silly if it kept going off the edge of the screen, so turned the edges into “walls” that would reverse the x or y velocity if the ball hit them.  I then tried adding “gravity” by having the y velocity increase one step downward each frame, which turned the bubble into a ball.  Then I added some inelasticity by decreasing the velocity a little upon impacting walls.  Since the bubble was now pretty much a bouncy ball, I made it no longer pop upon hitting the shadow.  Instead, it would bounce off the shadow in the opposite direction of where the shadow hit the ball, also adding some more velocity.  By this point, I had a hideous doppelganger of physics that would make Newton wish he never saw an apple tree.  This is what Bouncy Ball is, at the bottom of the post.  Try it at your own risk.  It is absurdly glitchy, and really only responds well to slow movements.

This still isn’t quite what the sand demo is, but I think it comes close enough to prove that it would be possible in Pygame.  The biggest thing that is necessary is a real physics engine, which Zhang Fan is currently working on for Pygame as a GSoC project.  Its likely that I will need to extend the bitmask module in pygame to make things like pinching an object possible.  If anyone wants to improve this stuff, please do, there is a lot of room for it.  I’d be happy to help out any way I can.  I do hope to have something closer to the sand demo by the end of the summer.

As a note to OLPC users, I know its pretty inconvenient to have to build the library on the XO.  I’m still working on packaging an .rpm and an .xo that contains all of my demo scripts.  Also, for now, to get it running at a usable speed on the XO, it has to be at 320×240, which makes it pretty un-immersive, but I’m working on ways to scale it up without sacrificing much performance.

Download Python Scripts:
Bouncy Ball
Bouncy Ball (OLPC)
Pop Bubbles
Pop Bubbles (OLPC)
Download Pygame with camera module source:
Pygame 1.8.1 with camera module
Checkout Pygame with camera from git:
git clone git://git.n0r.org/git/pygame-nrp

5 Comments on Pixel Perfect Collision between Real and Virtual Objects in Pygame