While capturing the time-lapse last week, John and I ran into two irritating issues. The first is that the moving platform causes the object being printed to come in and out of the focal plane of the camera and makes for a jarring video. The second is that because the interval between photos is constant, some large and slow layers will have multiple shots taken while several consecutive quick layers can be skipped entirely. The solution to both of these is to dynamically remote trigger the camera from the printer.
I wrote a Skeinforge photograph plugin that inserts a new G-code command, M240, which tells the printer to trigger a photograph. The module offers three modes. End of Layer, as demonstrated by Yoda above, is the simplest. It takes one picture at the start of the first layer and then another at the end of each layer of the print, resolving only the second of the aforementioned issues. Corner of Layer takes a picture at the minimum Y,X of each layer. Least Change between Layers tries to take shots that are as close as possible to each other from layer to layer. I had the most visually interesting results with the last setting, as shown in the Flower print up top. The module can be downloaded from github, and installation instructions are included within its text.
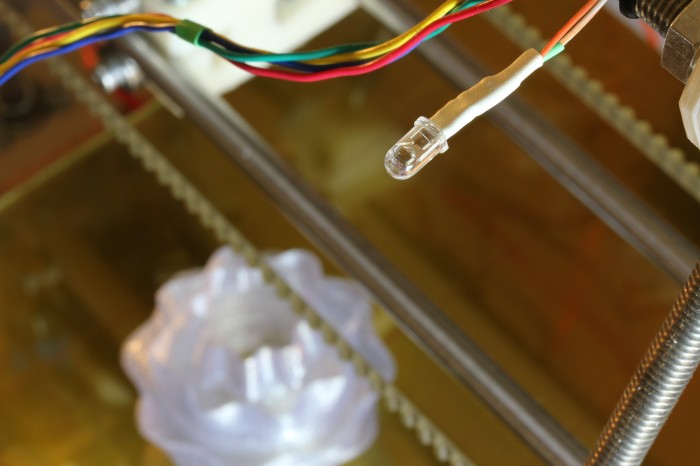
The other half of the control scheme is triggering the camera from the RepRap. Since I didn’t want to risk coupling my T2i directly to the printer, I went for emulating a Canon RC-1 Remote, which has been thoroughly reverse engineered. The hardware is simply an 850nm infrared LED in series with a 180 ohm resistor connected to one of the I/O pins on the Arduino Mega. I chose pin 23 because I could solder to it without pulling my RAMPS board off. The software side is equally simple. For this, I forked the excellent Sprinter firmware to respond to M240 and send the correct pulse over the IR LED. My fork is on github, but the diff that adds M240 support is the interesting bit.

