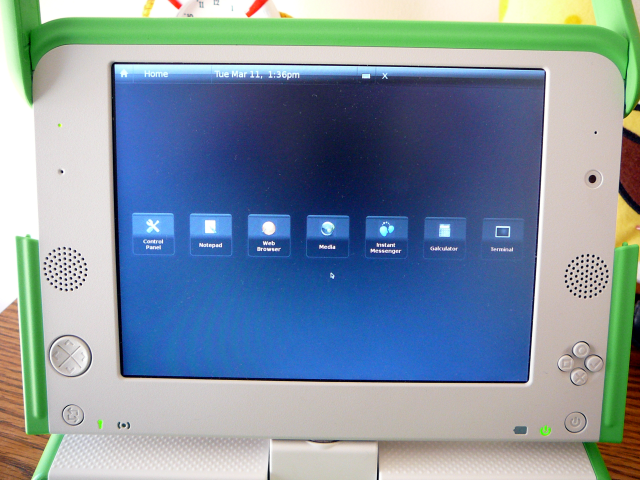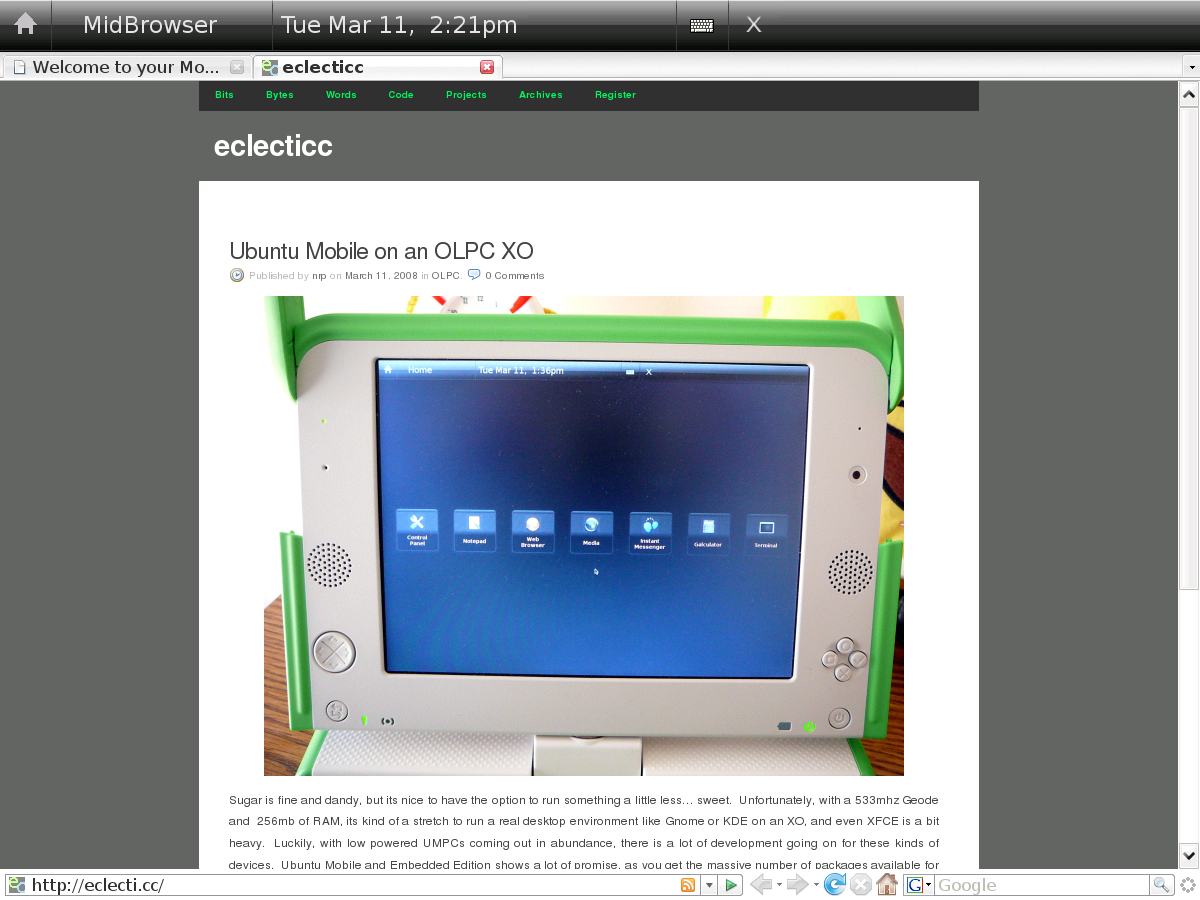
Sugar is fine and dandy, but its nice to have the option to run something a little less… sweet. Unfortunately, with a 433mhz Geode and 256mb of RAM, its kind of a stretch to run a real desktop environment like Gnome or KDE on an XO, and even XFCE is a bit heavy. Luckily, with low powered UMPCs coming out in abundance, there is a lot of development going on for these kinds of devices. Ubuntu Mobile and Embedded Edition shows a lot of promise, as you get the massive number of packages available for Ubuntu in a distro designed for low power and small screens. So, this is a guide on installing and running Ubuntu Mobile on an SD card on an OLPC XO. Ubuntu Mobile is still very much alpha software and is designed for touchscreens, but it’s generally usable and quite speedy.
This guide is based largely on the following sources. It could be useful to check them if something here doesn’t work:
Requirements:
- OLPC XO
- 1+GB (2 GB or more is much better) SD card or USB thumbdrive
- SD card reader if you’re using an SD, which this guide assumes
- A linux box (besides the XO). This guide assumes Ubuntu 8.04
First, download and install what you need to install Ubuntu on an SD. We’ll be using Qemu and a Hardy Heron netboot image.
sudo apt-get install qemu qemu-launcher qemuctl
wget http://archive.ubuntu.com/ubuntu/dists/hardy/main/installer-i386/current/images/netboot/mini.iso
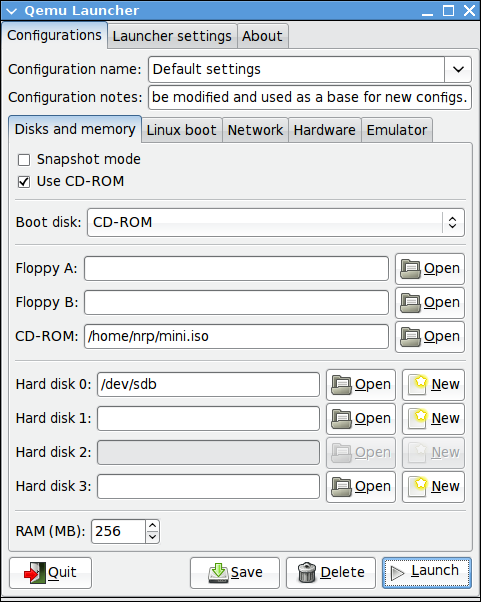
Run qemu-launcher. Check “Use CD-ROM,” set Boot Disk to CD-ROM, and in the CD-ROM field open the path to the mini.iso you downloaded earlier. Set Hard disk 0 to the location of your SD card or thumbdrive, which will be something like /dev/sdb or /dev/sdc. If you aren’t sure, after inserting the card or drive, open a terminal and run dmesg. The last few lines will mention some sd* and that’s what you want to use. If it automounted, unmount it before going on. The last thing on this tab of qemu-launcher is to set RAM to 256mb.

In the Networking tab, set Number of networking interface cards to 1, and in Card 0, choose Use the user mode network stack, and set MAC address to the address of the card currently connected. To get it, open a terminal and run ifconfig; the 12 digit hexadecimal number after HWaddr is what you want to copy and paste in.

You can then hit the launch button. You want to type cli at the boot prompt, hit enter, and then just follow the usual instructions on installing Ubuntu. The actual install part is probably going to take a while, so you may want to bake a cake.
When the install is done and it reboots, close the Qemu window. In Qemu Launcher, switch Boot disk to Hard disk 0 and uncheck Use CD-ROM. Then hit launch again, wait for it to finish booting, and log in with the user/pass you created during the install.
You’re going to want accelerated video, so add the following two lines to the end of /etc/apt/sources.list with your favorite text editor and then do a sudo apt-get update.
deb http://layer-acht.org/debian etch olpc xorg
deb-src http://layer-acht.org/debian etch olpc xorg
You need to install sysvinit, video drivers, and ubuntu-mobile. I find it easier to work with GDM than manually messing with xinit, so I install that too. If you have the space, you’ll probably also want to install XFCE, since Ubuntu Mobile is somewhat incomplete for now.
sudo apt-get install sysvinit gdm xserver-xorg-video-amd ubuntu-mobile xfonts-base
You then need an xorg.conf that works for the XO. I modified one from Free Like GNU to use 120 dpi to have more reasonable font sizes.
sudo cp /etc/X11/xorg.conf /etc/X11/xorg.conf.bak
sudo wget https://eclecti.cc/files/2008/03/xorg.conf -O /etc/X11/xorg.conf
To add Hildon, the Ubuntu Mobile desktop, to GDM, edit /usr/bin/start-hildon and comment out the line “export DISPLAY=:1”. Then download the xsession file.
sudo wget https://eclecti.cc/files/2008/03/hildon.desktop -O /usr/share/xsessions/hildon.desktop
You’re done with qemu, so you can close that window and pop out the SD card or thumbdrive. The XO expects the boot partition to be named OLPCRoot though, so you need to plug the thing back in. Ubuntu will detect the partitions and automount, so you’ll want to unmount it and then run the following command, replacing sdb1 with whatever you were using before with a 1 on the end of it.
sudo tune2fs /dev/sdb1 -L OLPCRoot
Then, power on your XO to boot into regular Sugar, and put the SD card into the XO. Then open up Terminal and become root. This could mean typing “su”, “sudo su”, or clicking on the become root icon, depending on your OS version. Then execute the following commands.
cp -ra /boot /media/OLPCRoot/
cp -ra /lib/modules /media/OLPCRoot/lib/
cp -ra /lib/firmware /media/OLPCRoot/lib/
cp -ra /security /media/OLPCRoot/
cp -ra /etc/modprobe.d /media/OLPCRoot/etc/modprobe.d
cp -ra /etc/fstab /media/OLPCRoot/etc/fstab
sudo wget https://eclecti.cc/files/2008/03/olpcsd.fth -O /media/OLPCRoot/boot/olpc.fth
One last thing that I like to do is disable tap to click on the touchpad, since its pretty sensitive. These instructions are from the OLPC News forums. Add the following line to the end of /media/OLPCRoot/etc/modprobe.d/modprobe.d/olpc.conf.dist
options mousedev tap_time=0
Leave the SD card in and reboot. The XO should boot straight into Ubuntu and start GDM. When the login screen comes up, go to Options, and Select Session. Choose Hildon, hit ok, and log in. Enjoy!


