Maker Ant Farm: Minecraft Skin Generation with a Kinect

Since my seemingly fragile 3D printer had never left my desk before and even in prime condition could only print an object every 10 minutes or so, I decided that I needed a backup project for the Bay Area Maker Faire last month.  I conscripted Will to help me out on a purely software Kinect based project.  After downscoping our ideas several times as the Faire weekend approached, we eventually settled on generating Minecraft player skins of visitors.  The printer ended up working fine (and more reliably than the software only project), but the Minecraft “Maker Ant Farm” was more of a crowd pleaser.

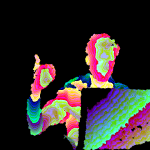
A visitor would stand in front of the Kinect and enter fieldgoal/psi calibration pose.  We used OpenNI and NITE to find their pose and segment them out of the background for a preview display.  Using OpenCV, we mapped body parts to the corresponding sections of the Minecraft skin texture.  Since we could only see the fronts and parts of the sides of a person, we just made up what the back would look like based on the front.  This was of course imprecise and resulted heads that often looked like they had massive bald spots.  Rather than trying to write some kind of intelligent texture fill algorithm on a short schedule, we just gave all of the skins yellow hard hats (not blonde hair, contrary to popular opinion).  After generating the skin, we loaded it back onto ShnitzelKiller’s player rig in Panda3D.  I had planned on writing full skeletal tracking for the rig, but ran out of time and settled on just having it follow the position and rotation of the user and perform an animated walk.  After walking around a bit watching a low res version of him or herself, the user could enter in a Twitter handle or email address to keep the skin.  The blocky doppelgänger was then dropped onto a Minecraft server instance we had running as a bot that did simple things like walk around in circles or drown.
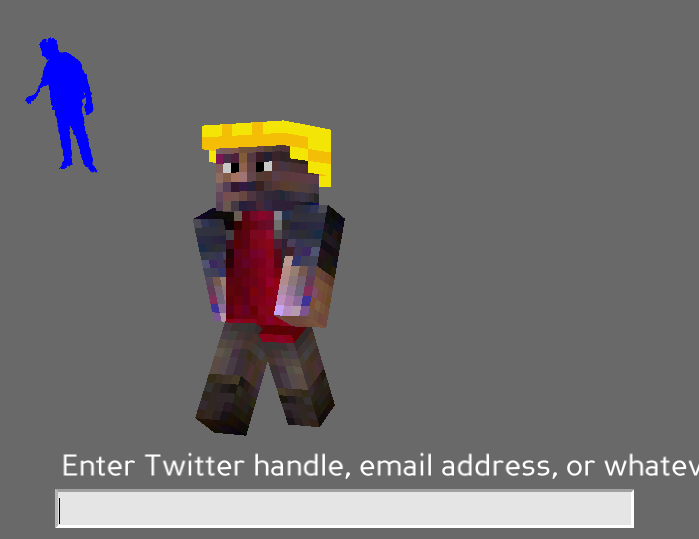
Minecraft Skin

Despite some crashiness in NITE and the extremely short timeframe we wrote the project in, it ended up working reasonably well.  Thanks to the low resolution style and implied insistence on imagination in Minecraft, the players avoid looking like the ghastly zombies in Kinect Me.  You can see examples of some of the generated skins on @MakerAntFarm.  I hate not releasing code, but I almost hate releasing this code more.  It is very likely to be the worst I have ever hacked together, and I can’t help but suspect it will be held against me at some point.  Nonetheless, for the greater good, it’s up on github.  There are vague instructions on how one might use it in the README.  Good luck, and I’m sorry.

No Comments on Maker Ant Farm: Minecraft Skin Generation with a Kinect

Gestural Printing: Jumping the Shark on Kinect Hacks

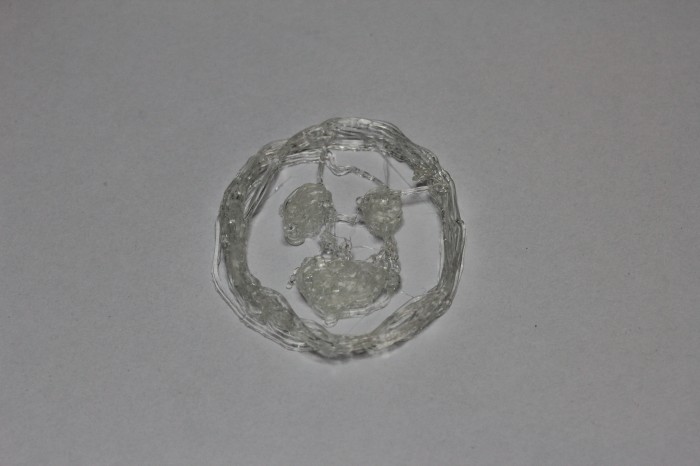
We’ve seen a seemingly endless array of amazing Kinect hacks over the last few months, from superhero generators to obstacle avoiding quadcopters.  However, it was only a matter of time before someone came up with a hack so inane and irrelevant that it would bring shame to the entire hobby.  That time is now, and that someone is me.  I bring to you, gestural 3D printing!  Using the Kinect to track your hand, you can draw one layer at a time, with the printer following your every move.  Pushing forward extrudes plastic, while pulling your hand back will start a new layer.  Who needs difficult and confusing CAD software when you can just directly draw the object you want to print?

Really though, you can only get through 4 or 5 layers before your arm feels like it’s going to fall off, and the resulting object will look like a stringy blob of plastic vomit.  The source is in the FaceCube GitHub repository.  I don’t recommend actually using it, but if for some reason you want to, the dependencies are mindbogglingly complex.  You’ll need to install OpenNI and NITE to start with; this guide at Keyboardmods is helpful.  You’ll also need my branch of OSCeleton, which improves on hand tracking.  With the Kinect hooked up, you can run ./osceleton -n -f to start hand tracking in an Open Sound Control server.  You can then run the gestureprinter.py script, which requires pyOSC, pygame, and the RepRapArduinoSerialSender script from Skeinforge, which is also in the FaceCube repository.  Of course, you’ll also need both a Kinect and a 3D printer that is compatible with the Gcode that RepRap firmwares use.  The script is set up for my printer specifically, but it should be straightforward to tweak for others if you dare.

Gestural Print

No Comments on Gestural Printing: Jumping the Shark on Kinect Hacks

FaceCube: Copy Real Life with a Kinect and 3D Printer

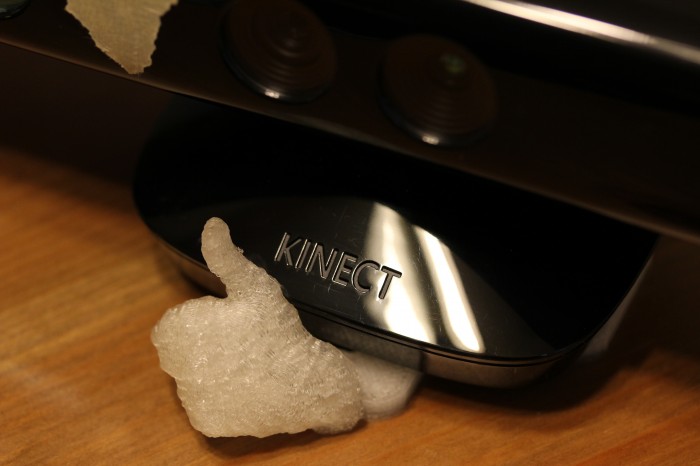
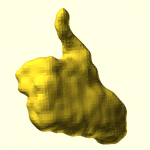
Thumbs Up

This project is a tangent off of something cool I’ve been hacking on in small pieces over the last few months.  I probably would not have gone down this tangent had it not been for the recent publication of Fabricate Yourself.  Nothing irks inspires me more than when someone does something cool and then releases only a description and pictures of it.  Thus, I’ve written FaceCube, my own open source take on automatic creation of solid models of real life objects using the libfreenect python wrapper, pygame, NumPy, MeshLab, and OpenSCAD.

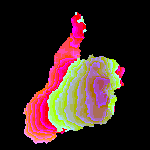
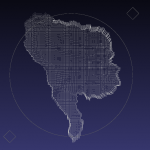
The process is currently multi-step, but I hope to have it down to one button press in the future.  First, run facecube.py, which brings up a psychedelic preview image showing the closest 10 cm of stuff to the Kinect.  Use the up and down arrow keys to adjust that distance threshold.  Pressing spacebar toggles pausing capture to make it easier to pick objects.  Click on an object in the preview to segment it out.  Everything else will disappear; clicking elsewhere will clear the choice.  You can still use the arrow keys while it is paused and segmented to adjust the depth of what you want to capture.  You can also use the H and G keys to adjust hole filling to smooth out noise and fill small holes in the object.  If the object is intended to have holes in it, press D to enable donut mode, which leaves the holes open.  Once you are satisfied, you can press P to take a screenshot or S to save the object as a PLY format point cloud.

FaceCubeSegmentedPoint Cloud

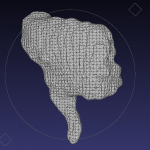
You can then open the PLY file in MeshLab to turn it into a solid STL.  I followed a guide to figure out how to do that and created a filter script attached below.  To use it, click Filters -> Show current filter script, click Open Script, choose meshing.mlx, and click Apply Script.  You may have to click in the preview, but after a few seconds, it will say that it Successfully created a mesh.  You can click Render -> Render Mode -> Flat Lines to see what it looks like.  You can then click File -> Save As, and save it as an STL.  You can probably get better results if you manually pick the right filters for your object, but this script will be enough most of the time.

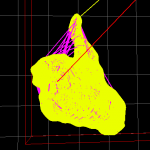
MeshLabOpenSCADRepsnapper

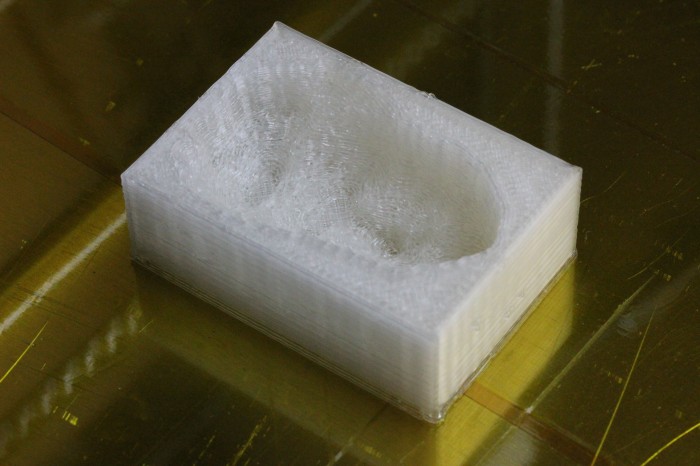
You can then open the STL in OpenSCAD or Blender and scale it and modify to your heart’s (or printer’s) content.  Of course, the real magic comes from when you take advantage of all that OpenSCAD has to offer.  Make a copy of yourself frozen in carbonite, put your face on a gear, or make paper weights shaped like your foot.  This is also where the name FaceCube comes from.  My original goal going into this, I think at my roommate’s suggestion, was to create ice cube trays in the shapes of people’s faces.  This can be done very easily in OpenSCAD, involving just subtracting the face object from a cube.

difference() {
	cube([33,47,17]);
	scale([0.15,0.15,0.15]) translate([85,140,120]) rotate([180,0,0]) import_stl("face.stl");
}

FaceCube Tray

Since all of the cool kids are apparently doing it, I’ve put this stuff into a GitHub repository.  Go ahead and check it out, err… git clone it out.  The facecube.py script requires the libfreenect from the unstable branch and any recent version of pygame, numpy, and scipy.  You’ll need any recent version of MeshLab or Blender after that to do the meshing.  I’ve been using this on Ubuntu 10.10, but it should work without much trouble on Windows or OS X.  The latest code will be on git, but if you are averse to it for whatever reason, I’ve attached the script and the meshlab filter script below.  Since Thingiverse is the place for this sort of thing, I’ve also posted it along with some sample objects as thing:6839.

Download:
git clone git@github.com:nrpatel/FaceCube.git

facecube.py
meshing.mlx

13 Comments on FaceCube: Copy Real Life with a Kinect and 3D Printer